If the roof is sloped, you can use an exposed-nail method. For a slightly sloped roof, attempt the concealed nail strategy shown in this post for much better defense against condensation and dripping if bare wood sheathing or primer paint has been utilized as your surface area product. If it’s flat or nearly flat on top of your home, then opt to opt for double coverage instead – though torch down customized bitumen (like GAF) or EPDM Roofing in Warner Centers are always more effective services when possible!
How To Install Present Roofing in Warner Center
Set up drip-edge flashings on the edges of your Roofing in Warner Center system. These will assist with water runoff and are commonly seen at each corner or every 8 feet (2 meters). Once they’re installed, you can utilize a roll 18 inches wide to wrap around valley flashing, located in between two eaves that cross over one another. Start by cutting it so its width corresponds exactly to where metal valley flashing would go if needed; then set it into bedding material like Roofing in Warner Center cement prior to smoothing out any creases and nailing near the edge for additional security!
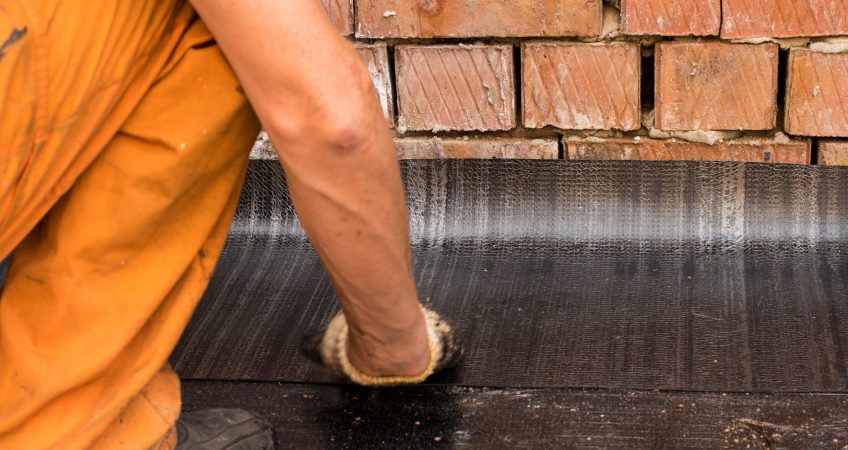
Position the first course, so it overhangs the drip edges by about 1/4 inch and rolls, driving nails every 3 inches along with the rake at one end. Pull taut, then nail to the eave edge of the Roofing in Warner Center every 1-inch from sides for extra security.
The next sheet must overlap the first by 4 inches or with some roll Roofing in Warner Center, enough to cover the bare location of mineral appearing. Snap a chalk line showing where you desire it placed, and after that drive nails in for the first one before presenting along your line.
It is essential to plan to keep the range between butt joints at a minimum of two feet. To do this, spread out Roofing in Warner Center cement on one end and after that embed the next sheet in it.
To make sure your plumbing vents are sealed up tight, take a piece of Roofing in Warner Center and suffice in half. Fit one side around the pipe with a minimum of 4 inches overlapping on the bottom course so that there is no chance for water to get in when you put cement over everything. Put some more plaster between both halves before putting cement into them, along with flashing or boots to keep wetness out from listed below throughout rainstorms.
To produce a valley, first, work from one side of the Roofing in Warner Center system past halfway to the center and then overlap onto the other side. Procedure 12 inches far from the center and use 4-inch large bed linen cement, which will be connected at this moment by nails on either end.
Finally, you can overlap the sheets at the ridge utilizing Roofing in Warner Center cement and nails. Nevertheless, if your last piece does not come down 8 inches past the peak, then cover up that area with a 16-inch broad strip embedded in cement!
Need a new Roofing in Warner Center set up to make your location more safeguarded? We can supply you with the best products in town.
Are you needing some help with installing that shiny, new rolled Roofing in Warner Center system for your office or home? Let us know, and we’ll have the task done rapidly!
What Is The Cheapest Method To Change A Roofing in Warner Center system?
Is Rolled Roof Cheaper Than Shingles? in Warner Center